
How To Change Ink In HP Printer? [Easy Steps Guide]
![How to Change Ink in HP Printer? [Easy Steps Guide]](https://activemeblogs.com/upload/post/68ba9ff281d38_nbcvsvdv.jpg)
Regular maintenance on your HP printer is a key factor for maintaining optimal print quality with performance as brand new. When it comes to maintenance, we can't overlook the need to change the ink in the HP printer because the printer requires ink as one of the most important elements for printing. Without ink, we can't imagine the printing process. However, the major problem that arises here is that there are a lot of people who don't know how to change ink in HP printers, which makes them victims of overpricing by printer technicians. You'll be surprised to know that changing the ink in your HP printer is a very simple task that you can also do in just a few easy steps. So, without wasting any more time, let's explore this!
Step-by-Step Instructions on How to Change Ink in HP Printer
An ink cartridge is a small, replaceable container that is designed to hold the ink in your printer. Ink cartridges are basically used in inkjet printers. However, the concept of changing ink remains the same in most of the other printers. By following the steps mentioned below, you'll be able to master how to change ink in HP printer.
Step 1: Preparing Your Printer for Ink Replacement
There can be slight changes in your printer's ink-replacing process. This means choosing the right course of action that you deem fit for your condition.
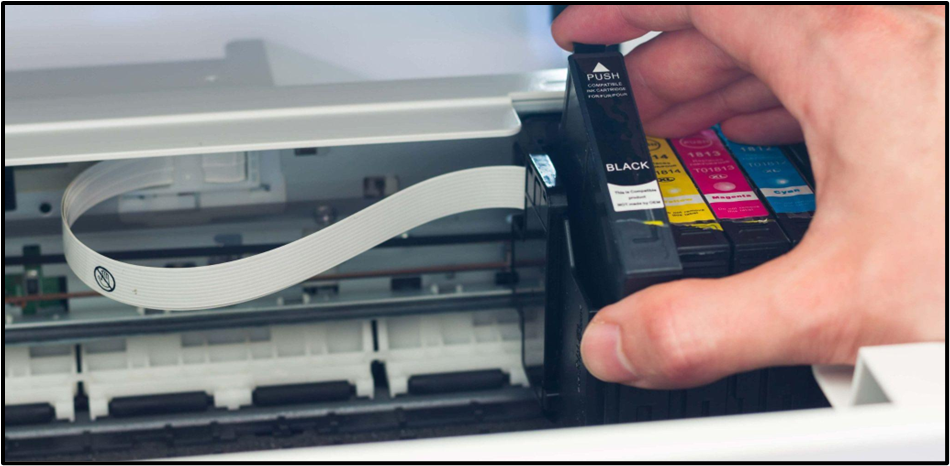
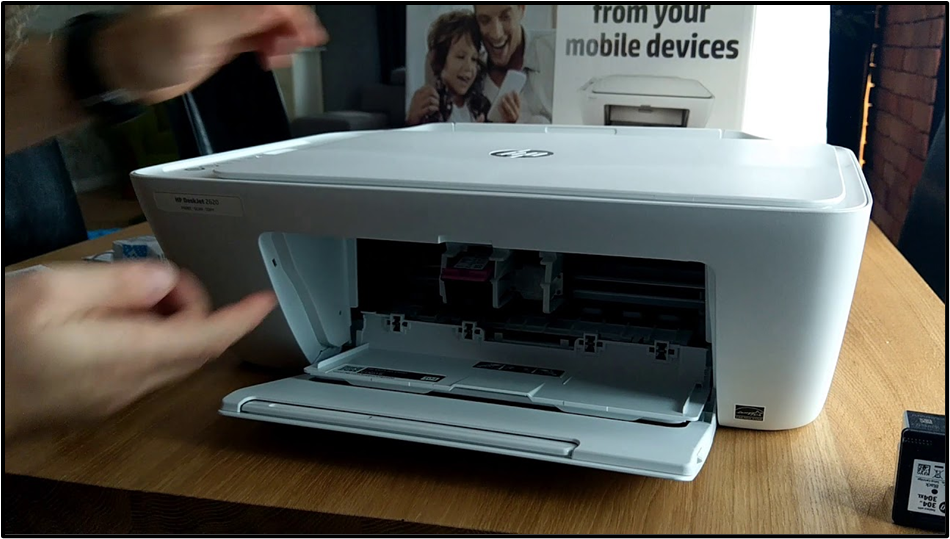
- First, turn on your HP Printer and then open the front panel of the printer.
- Now, wait until the carriage stops its movement. Then, gently and carefully try to take out the previous ink cartridge from the carriage slots.
If you find this confusing, refer to the user manual for a clearer understanding of your specific printer model.
Step 2: Installing the New Ink Cartridge
For HP 61 cartridges and other similar printhead models:
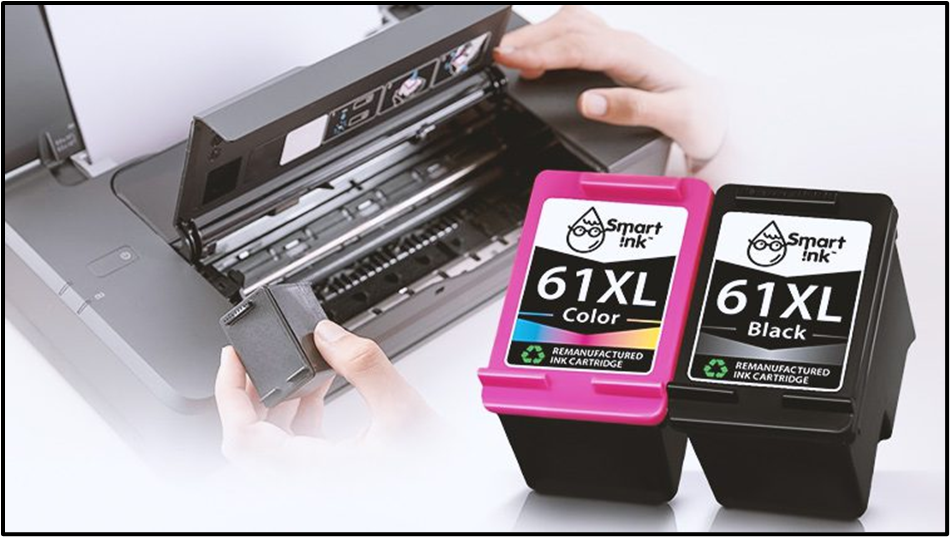
- Take your new pair of ink cartridges and unpack it completely. Also, remove the safety tape from the lid.
- In this step, you had to place your pair of ink cartridges in the same spot from which you had taken the previous ink cartridge.
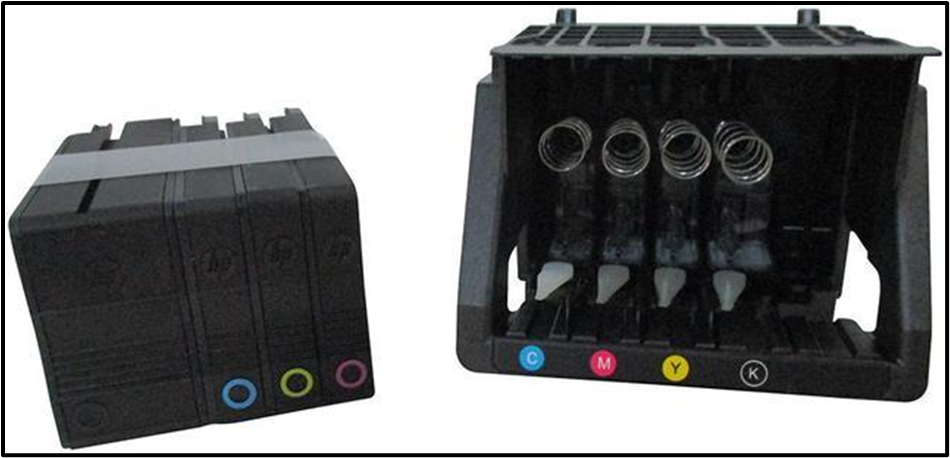
For HP 902 cartridges or other similar on-structure inkjet models:
- Start by taking your cartridge and holding it upside down for about 1-2 minutes.
- Now, remove all the packages of your ink cartridges, including the safety tapes.
- Next, carefully separate the cap from the ink cartridges.
- Then, take a look at the pattern of each cartridge slot and start inserting each cartridge that matches the slot pattern.
For HP 952 cartridges or other similar on-structure inkjet models:
- Take your ink cartridge and remove the packaging along with the yellow tape.
- Now, make sure the seals that cover the ink ports are untouched.
- Next, similar to the previously mentioned check, the markings of the ink cartridge and slot are the same.
- Once it's done, move on to the installation of cartridges in the matching slot.
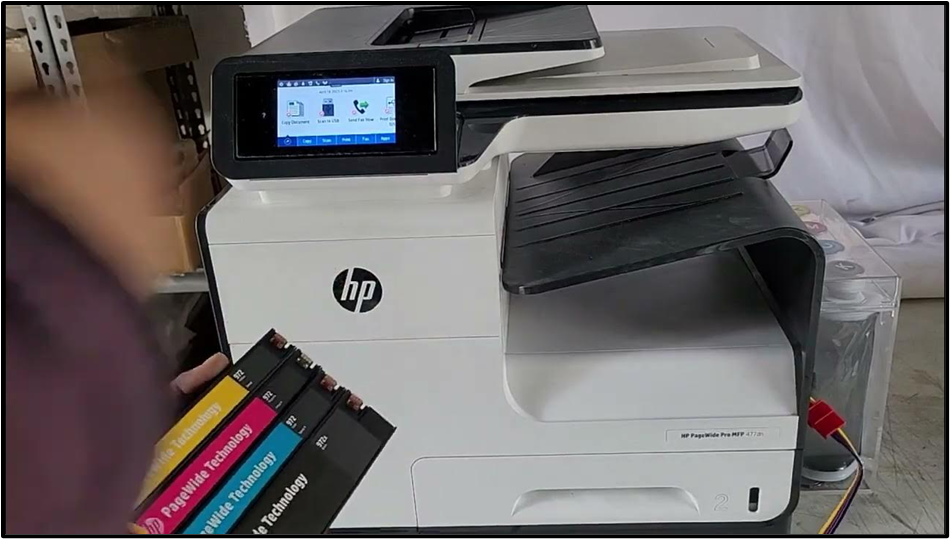
For HP 972 cartridges or other similar on-structure laserjet models:
- Similarly, start by removing the cartridge packaging along with the safety yellow tape.
- Make sure the protecting seal is unharmed.
- Now, separate the ink cartridge based on the pattern marked on the slots.
- Lastly, insert the ink cartridge based on the matching cartridge slot.
Step 3: Finalizing the Installation
- Now that your ink cartridge replacement is complete, just put the printer's front panel back in place and start printing right away.
- As you noticed, your printer was turned on throughout the process, and because of this, the printer will automatically recognize the new cartridge.
Attention: Important Handling Tips
- If you want to change the cartridge with the new one, simply give a gentle press to the installed cartridge and remove it from the printer.
- Be extra careful with the ports; the chip and optical sensor could damage the cartridges.
Learn How to Change a Toner Cartridge in Your HP Laser Printer
A toner cartridge is a specific type of ink container specifically used in the laser printer. It contains toner powder (a fine and dry mix of plastic and carbon particles along with the coloring agent) that is being used to print images on paper. Because the material used in this creates a major difference from other normal ink cartridge setups, but don't be stressed; just follow these steps to install toner cartridges for your HP laser printer easily.
- Open the printer panel to reach the inner section where you insert the toner.
- Now, take the caps off the cartridge and also remove the protective paper if it is there.
- Next, gently remove the yellow-colored tape.
- After that, take a look at the cartridge and slot pattern.
- Later, turn your toner cartridge to a gentle tilt and push it into the slot.
- Lastly, close the printer door and cover it after you have completed the toner cartridge installation.
Conclusion
Changing ink in your HP printer serves multiple advantages, such as maintaining print quality, providing longevity of the printer, reducing wastage, and saving cost. That's why we encourage you to keep your printer perfectly maintained and enjoy the HP printer benefits to the fullest. For learning how to change ink in HP printer, you can use this guide anytime. However, if you feel any trouble or face any issues, you can contact us for further assistance. We, as professionals, dedicate ourselves to helping printer users and making their every printing experience a seamless one.
To download the suitable drivers for your printer on Windows 10, follow the steps below:
- On your computer, go to the Devices option.
- Under Devices,
move on to the Printer &
scanners.
- In that option, click on the Add a printer or scanner option.
- After that, you’ll see a list of available printers
on your screen.
- Next, select your printer from the list displayed.
- At last, hit the Add device option to finish the driver installation.
To connect a printer to WiFi, you can use the built-in printer’s setup wizard. Follow the below steps:
1. First, go to the printer’s control panel or touchscreen.
2. Then, choose the Setup or Network settings option.
3. Next, select the Wireless Setup Wizard option.
4. After that, choose your WiFi network.
5. Now, enter the ID and password.
6. Wait for the connection to be established.
A printer may not connect to a computer wirelessly for several reasons, including:
● The printer is far away from the router, which is
causing a weak signal.
● If you have entered incorrect network details on
the printer.
● Ensure your router operates in the 2.4 GHz band,
as many printers are optimized for this frequency.
● If your printer has outdated drivers.
 • Jan 19, 2026
How To Add Canon Printer To Windows: A Detailed Guide


 • Oct 13, 2025
How To Scan From Brother Printer To Computer: Full Guide
• Sep 25, 2025How To Fix A Canon Printer Not Printing? (Tutorial Steps)
• Jan 19, 2026How To Add Canon Printer To Windows: A Detailed Guide
• Oct 13, 2025How To Scan From Brother Printer To Computer: Full Guide
• Sep 25, 2025